hi, I’m aRtBee…
and I’m into Lighting, Coloring, Texturing, Staging, Rendering and some Animation -to- Music. These are my recent results, older works and favorites. Enjoy! .
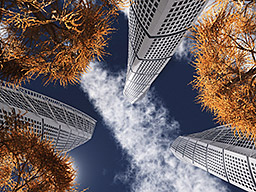
Panoramas, Outdoor scenes, Architecture, Indoor shots and more, using software like Vue and some Bryce and mojoWorld too.
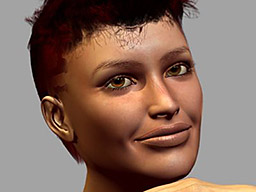
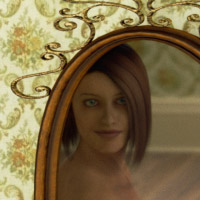
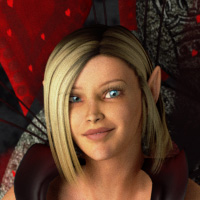
Facials, body shots, group takes and scenes mainly done in Poser, some with DazStudio, some with special rendering (LuxRender, Octane).
Warning / hint: some artistic nudity ahead.
From hyper-slideshows to real shorts, from outdoor fly-by’s to dance events, as long as it takes music and movement: I’m happy.
There are some oldies too.
Pro’s never do it on their site, but I’m happy to show some growth over the years.
– From old site logo’s (3DS Max)
– To scenes using any software around,
– And some animations too.
and I’m into Lighting, Coloring, Texturing, Staging, Rendering and some Animation -to- Music. These are my recent results, older works and favorites. Enjoy! .

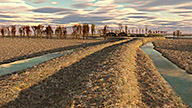
Meadows and dikes, the eternal Dutch allies. Build after a landscape picture, as presented in the overview page. Summer Autumn Winter
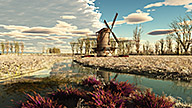
Fat clouds, crispy sun, and a windmill. No tulips, sorry for that. Build after a landscape picture, as presented in the overview page. Summer Autumn Winter

A clear and cool start of the day.Build after a landscape picture, as presented in the overview page. Summer Autumn Winter
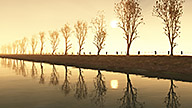
A foggy morning along the canal. Build after a landscape picture, as presented in the overview page. Summer Autumn Winter
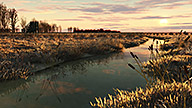
A maze of ditches in the meadow. Build after a landscape picture, as presented in the overview page. Summer Autumn Winter
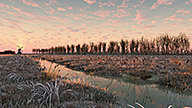
A maze of ditches in the meadow. Build after a landscape picture, as presented in the overview page. Summer Autumn Winter